![]()
![]()
![]()
![]()
![]()
![]()
![]()
![]()
![]()
![]()
![]()
![]()
Shortly before the release of the movie, "The Polar Express", I was asked to build a small model railway for the Sale Cinema (where I also work part-time). The following is a quick explanation of how I went about it.
![]()
Polar Express train sets?
If you've come to this site via a search engine, looking for "Polar Express" train sets in Australia. Then I'm sorry. I can't assist. They are not generally available locally, as they are made only by the US model train company Lionel. I suspect this is due to licencing arrangements.
If you have purchased a Lionel O gauge Polar Express train set from the US and want to know why it won't work correctly in Australia, then, apparently, it is due to the electronics requiring a 60Hz power supply in order to function correctly. Australian mains is 50Hz. A 240 volt to 110 volt stepdown transformer will not change the 60Hz frequency to 50Hz. This is probably the main reason these models are not usually found for sale in Australia.
![]()
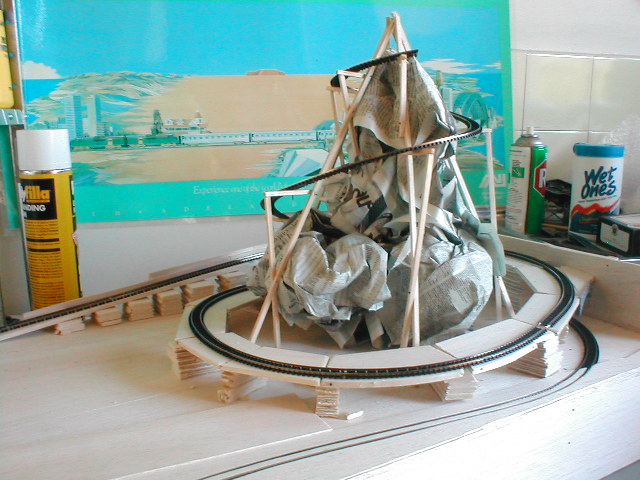
15th November 2004. Basic baseboard from balsa, with Atlas flexible track laid
and screwed-up newspaper in preparation for spraying foam scenery.
As I was limited for time, I made the baseboard entirely from Balsa. It helps that I keep a good supply of it in the shop. Apart from this convenience, balsa is suitable for small or quick jobs because it is easy to cut with a knife (or even scissors for the thinner pieces) and small nails or track pins can be pushed in by hand.
With little material to work from apart from having seen trailers for the movie most of the year (2004) and a few pictures on posters, I decided to make a layout including a street scene where the train arrives outside the boy's home during the night, and also the impossibly steep and tightly curved track winding up a mountain. For obvious reasons, this section of track would have to be "fake". Having never seen the book the movie is based on, I figured these 2 scenes would be the easiest to incorporate into a working model.
Only 4 days away from the movie's release on the 18th of November 2004, I laid the track. The photo above was taken on the 15th of November after much work to ease the grade and curves to allow a Spectrum US 2-8-0 steam locomotive to negotiate it. I realise now that I should've made the layout a few centimetres wider. But these things happen when you rush I guess. :-)

Close-up of balsa cut to form the paved railway in the street.
The above photo shows one method of building a section of paved railway. Thin balsa has been cut to fit either side of the rails with another section filling the gap between the rails. This is easy to achieve. Simply place the balsa over the track. Press firmly over the rails to leave an impression in the balsa. Then turn the balsa over and cut along the outer edges of the impressions. The centre section is a little more difficult. You need to cut 1-2mm inside the impressions to allow room for the wheel flanges. Some trial and error may be needed here. If you don't leave enough room, it is easy to use a knife to remove excess balsa.
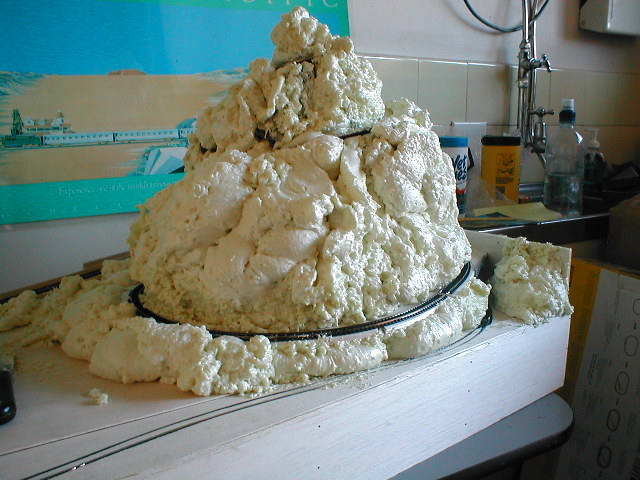
Expanding foam used as a base for scenery. 15th November 2004.
As this layout needed to be ready very quickly, I decided to try using the space-filling expanding foam material that comes in a spray can at hardware and building suppliers. I'd never used it before. It certainly is a quick (albeit, relatively expensive) way of producing scenery. However, I quickly discovered that it continues to expand quite some time after it has been sprayed. As a result, I was slightly alarmed to see that my tracks were being covered by the foam as it expanded.
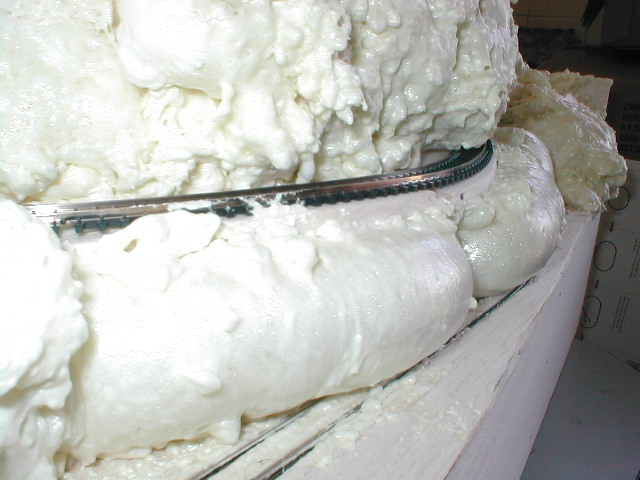
The expanding foam continued to expand overnight. 16th November 2004.
Fortunately, being foam, it was very easy to cut away the considerable excess foam with a craft knife and razor saw.
Page updated 16/10/2012